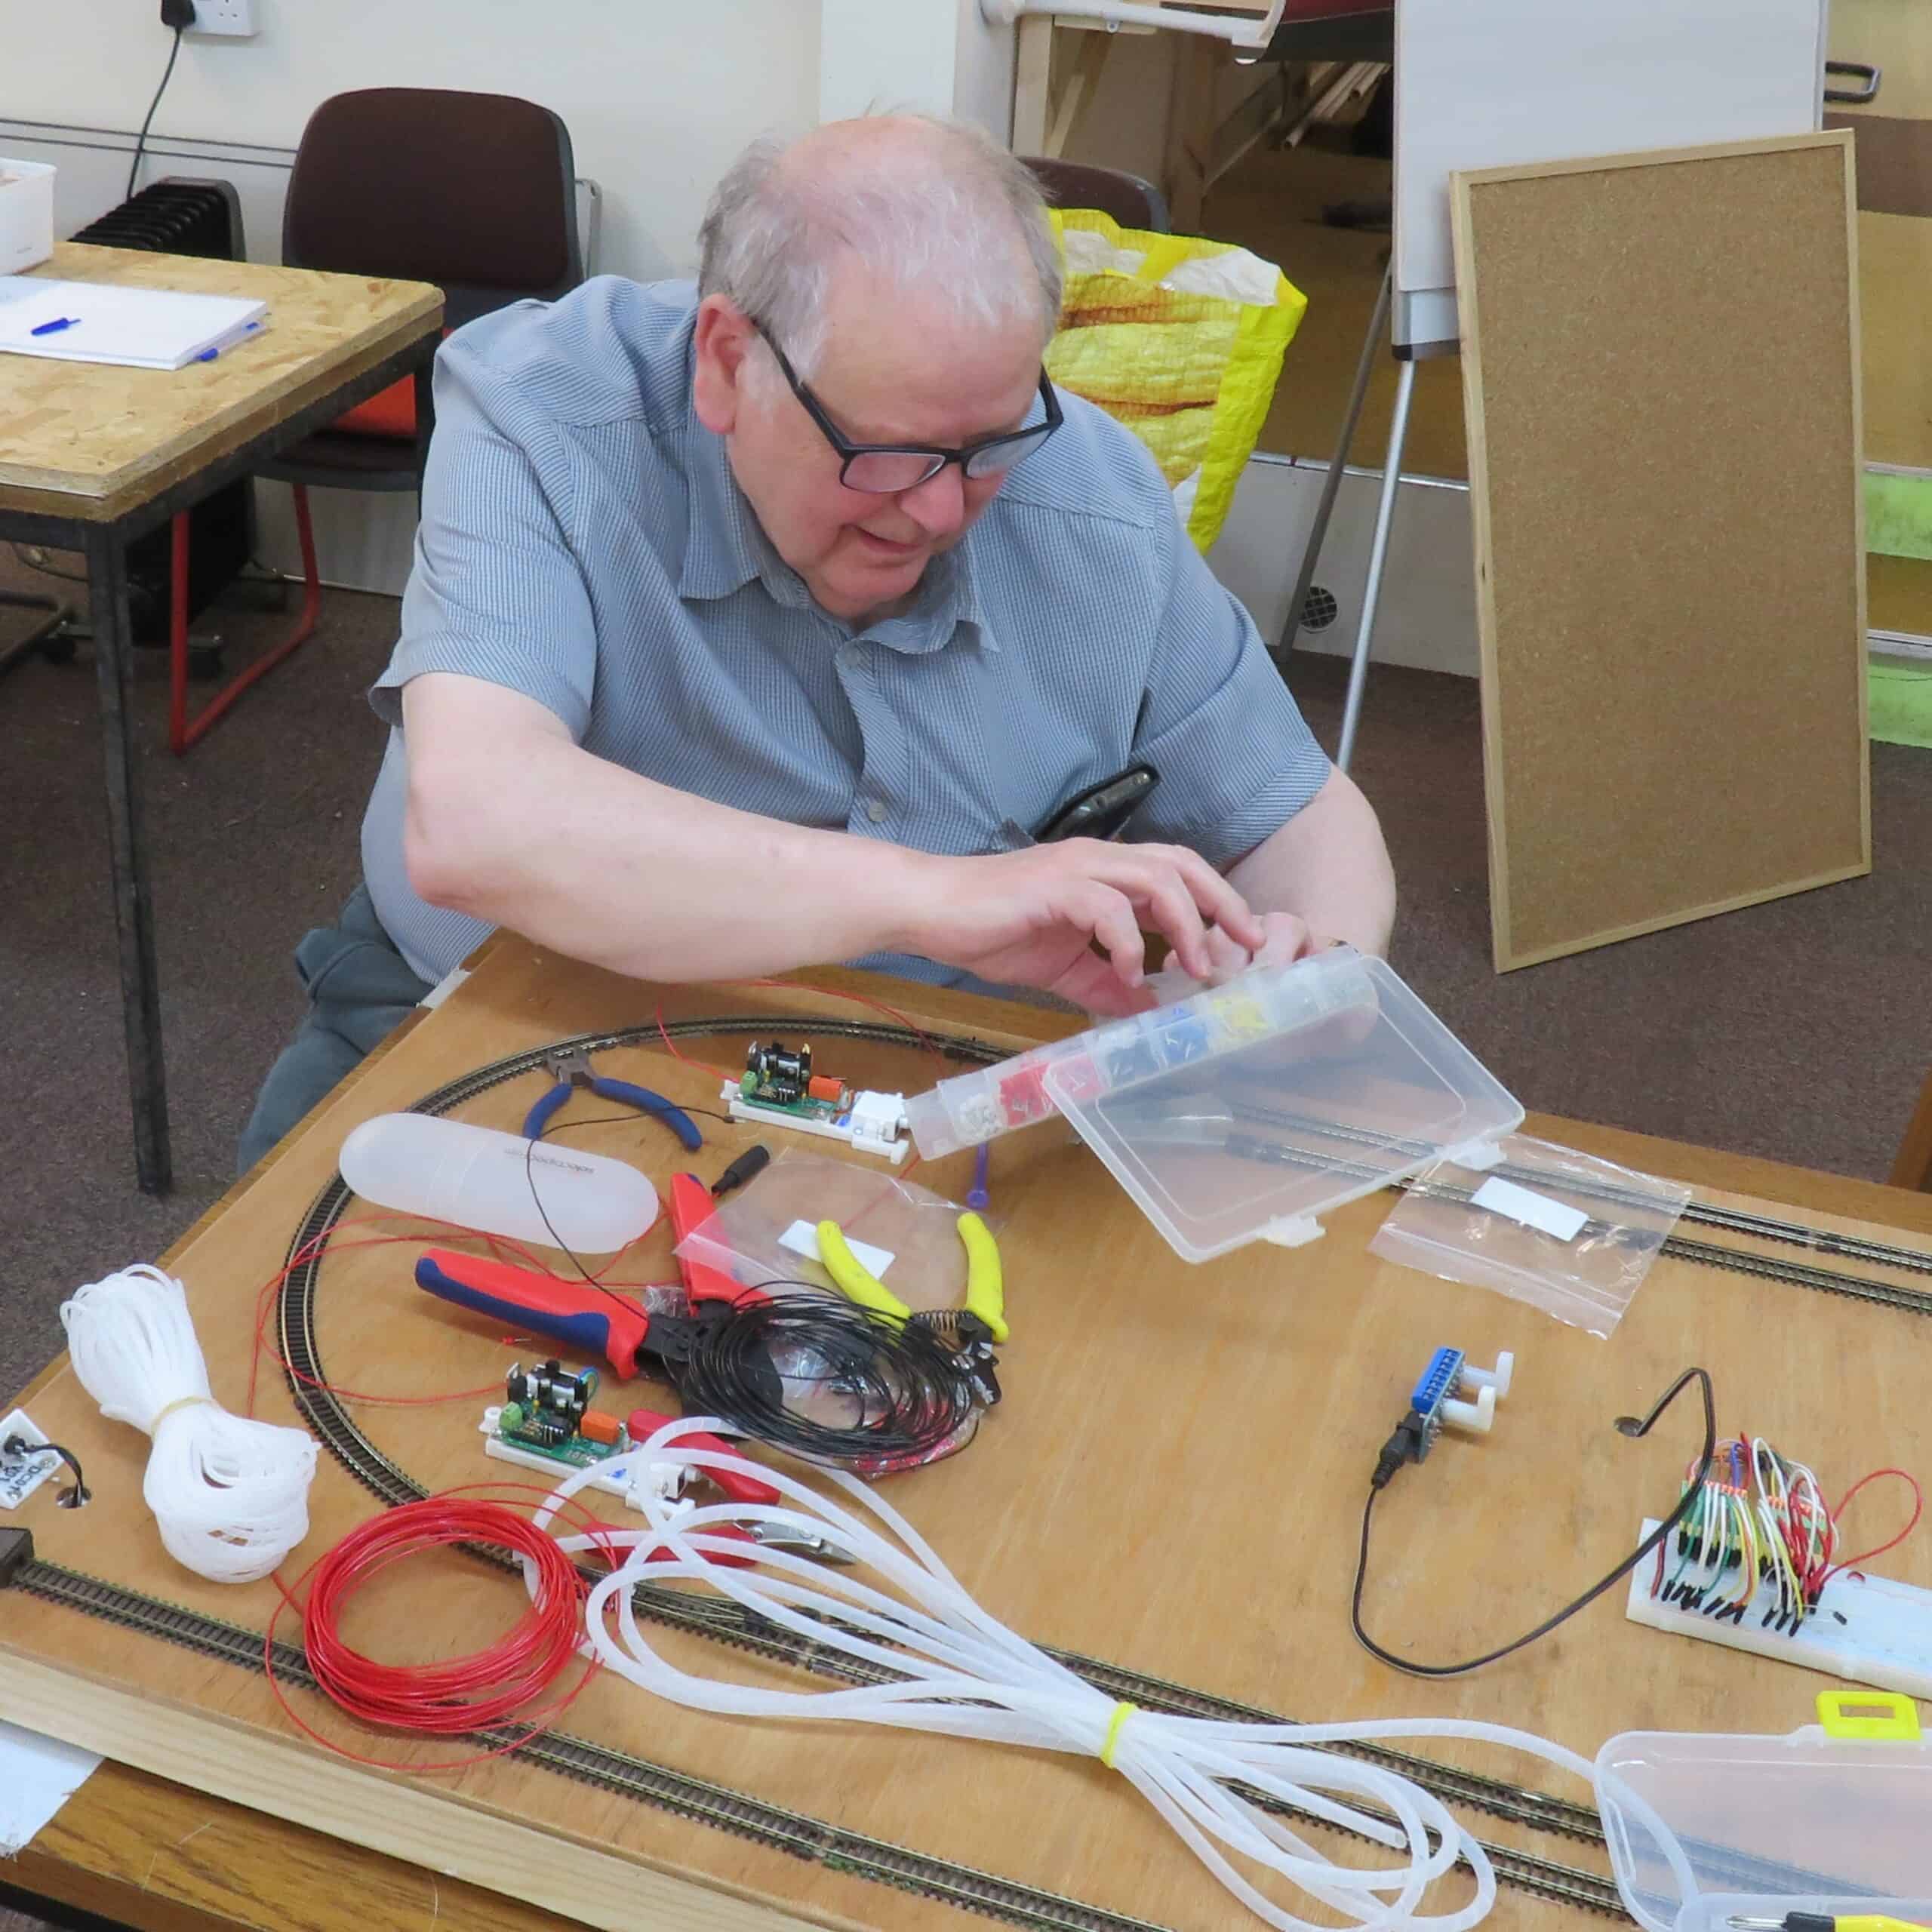
Malcolm has been continuing his work on Test Board One. Now that all the servo and control boards are in place, the next task is to run the D cables back to the central distribution point on the board.
There was no stopping Malcolm today as he tackled crimping and the long lost art of spiral cable wrestling.
Allan will be in for some stick next week for forgetting to mention to Malcolm, that the control wire necessary to change the points needs to be run in the same bundle of wires!
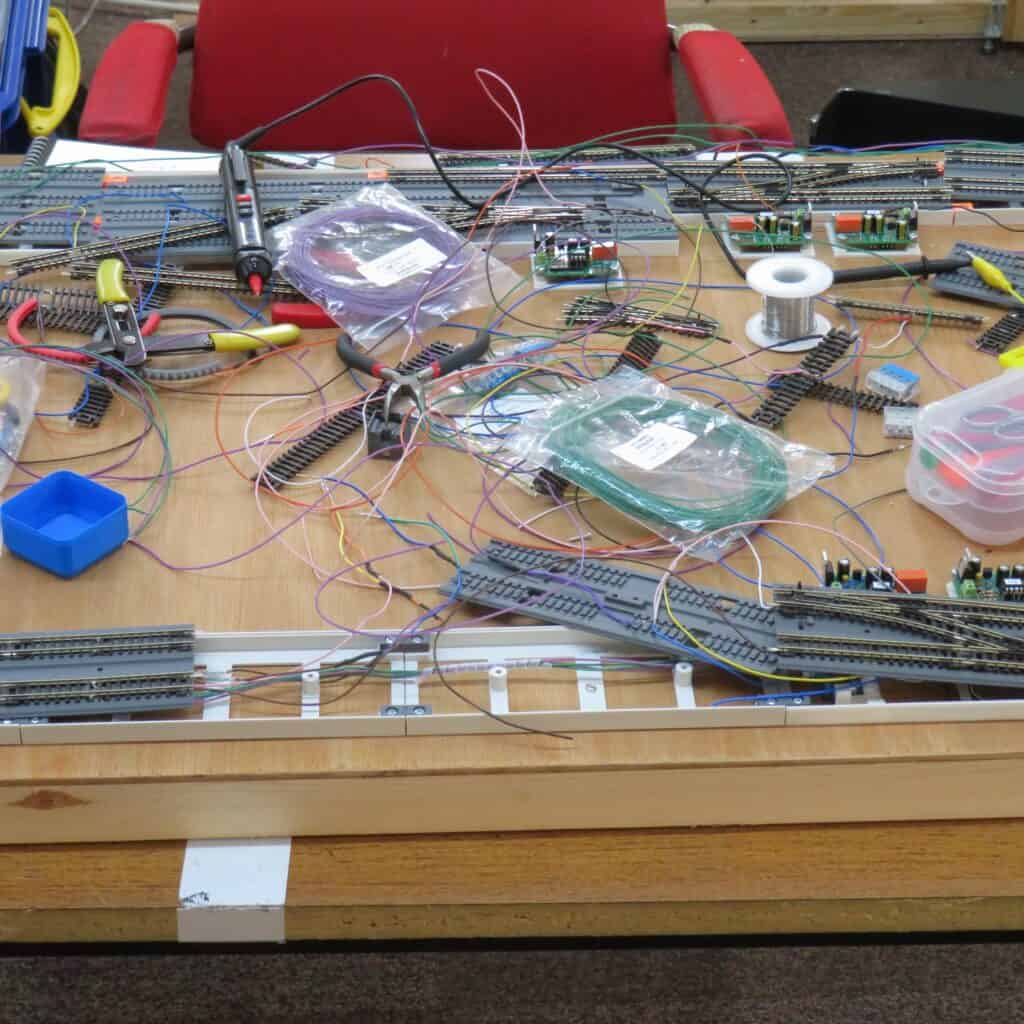
As you will see Test Board Two is still a mass of wires.
Allan needed some time to remind himself the precise way that the blocks were to be allocated, so this time he wrote it down.
This layout will primarily be used with the Automatic Train Controller (DC). The track is divided into sections that will become INTermediate and END sections in ATC parlance.
However there is no reason why the layout could not be used with JMRI, controlling the locos using DCC. This will necessitate designing some plug and socket arrangements to be able to disconnect one type of system and connect another.
We might even try the commercial product Train Controller, if there is enough scope in the demo version – unless, of course, someone has a spare $1000.
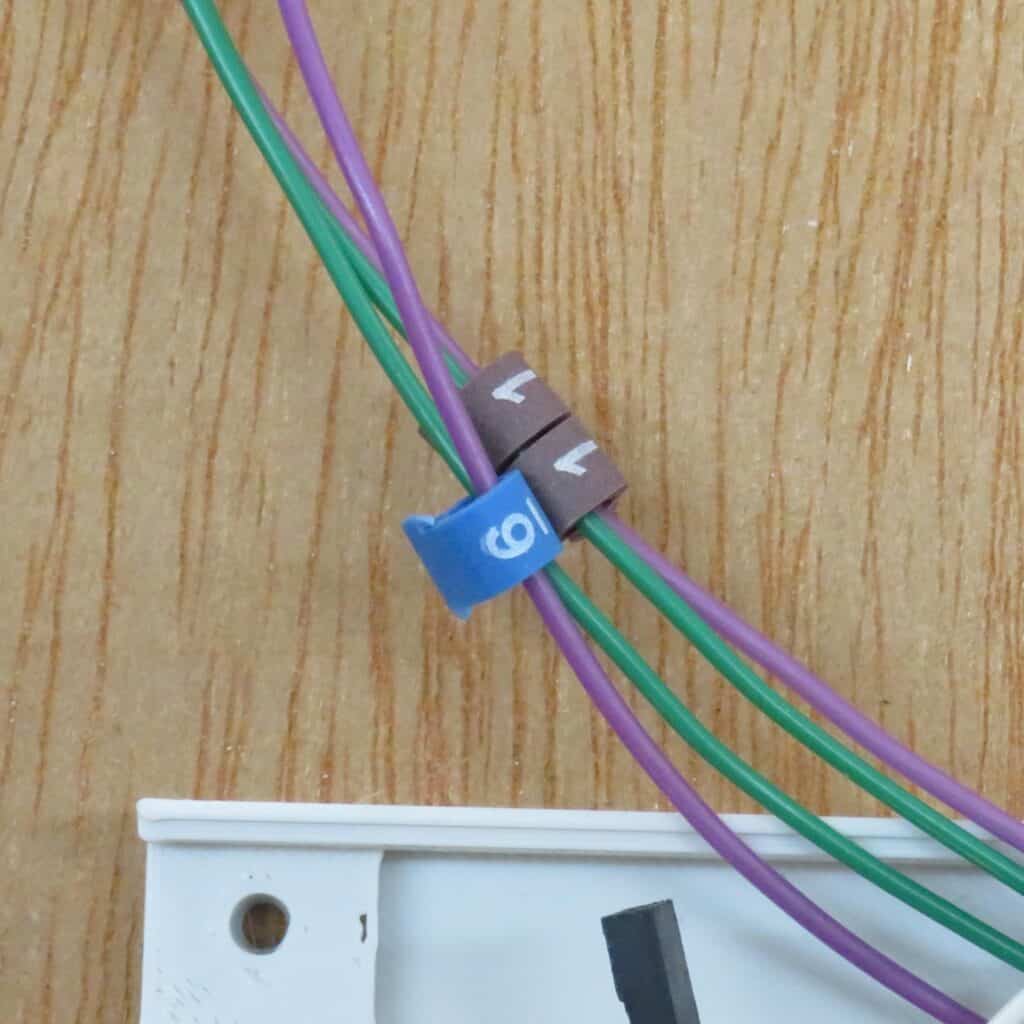
Ray has been thinking about the cable ID problem and has brought in some cable identification sleeves. We did try a similar approach on Purleigh some years ago.
The sleeves are numbered 0 to 9, so two sleeves have to be used for higher numbers.
There are two wires for each section and the number will identify the section number. Section number will also be visible on the layout.
As always with these sleeves, the challenge is keeping them on the cables until the wires are secured into terminal blocks. This is being achieved by using a small piece of spiral wrap at the end of the pairs of cable.